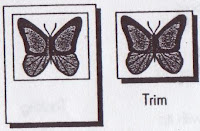
- Cut picture to size. Edges should be straight and corners square.
o Use a paper cutter/knife for best results.
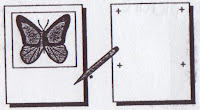
- Mark location of picture on mounting board with pencil to assist putting picture in correct position.
o Be careful if using construction paper; it bleeds.
 Temporary
- Apply cement evenly to back of picture.

- Place picture on mounting board before cement dries.
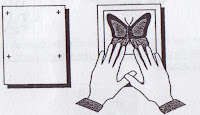
 Burnish the picture for good adhesion and removal of air bubbles.
- Remove excess cement after it dries by rubbing with clean finger or ball of dried cement
- Erase the guide marks

Permanent
- Apply cement evenly to front of mounting board in vertical direction.
- Allow cement to dry until there are no shiny spots.

- Place two sheets of wax paper on mounting board to cover picture area so picture does not adhere in wrong place.
- Align picture with guide marks.
- Carefully remove wax paper while holding picture in aligned position.
 Burnish the picture for good adhesion and removal of air bubbles.
- Remove excess cement after it dries by rubbing with clean finger or ball of dried cement.


Erase the guide marks.
How to…dry mount pictures
1. Dry the mounting board and picture before trimming picture by placing them in dry-mount press for about one minute at 225F. Close press, but do not lock.
2. Place a sheet (either side up) of dry-mounting tissue over the back of the untrimmed picture, with sheet extending beyond the edges of the picture.
3. Attach the tissue to the back center of the picture with tip of a tacking iron set on “medium”. 
4. Turn picture and tissue over and trim both simultaneously to desired size. (A paper cutter works best, but a razor knife and metal straightedge or scissors may be used.)
5. Place the picture and dry mounting tissue on the mounting board and align in proper position.
6. Tack the tissue to the mounting board at two opposite corners.

7. Cover mounting board and picture with clean paper on both sides.

8. Place in dry-mount press preheated to 225F for about one minute.
9. Remove from dry mount press and allow the materials to cool. (Placing the cooling materials under a metal weight will help prevent curling.)
Heinich, Robert et al. Instructional Media and Technologies for Learning. 7th ed.
No comments:
Post a Comment